A common question I receive during conversations with homeowners is – “how much preparation do you do?” As all houses are unique and the state of the paint work will vary due to host of variables, this can be a difficult question to answer succinctly. Often when a home is the primary residence, one important factor is the aesthetics of the finished product; homeowners naturally want their home to look good and this will entail extra preparation.
However for investments and rentals properties, aesthetics are not the highest priority and cost is an important factor. In this case, I think a better question is – “what is the minimum amount of preparation that you would do to get x years life out of the paint work? As preparation is the foundation to the life of the paint, knowing what the minimum level of preparation is can help you make a proper cost benefit analysis.
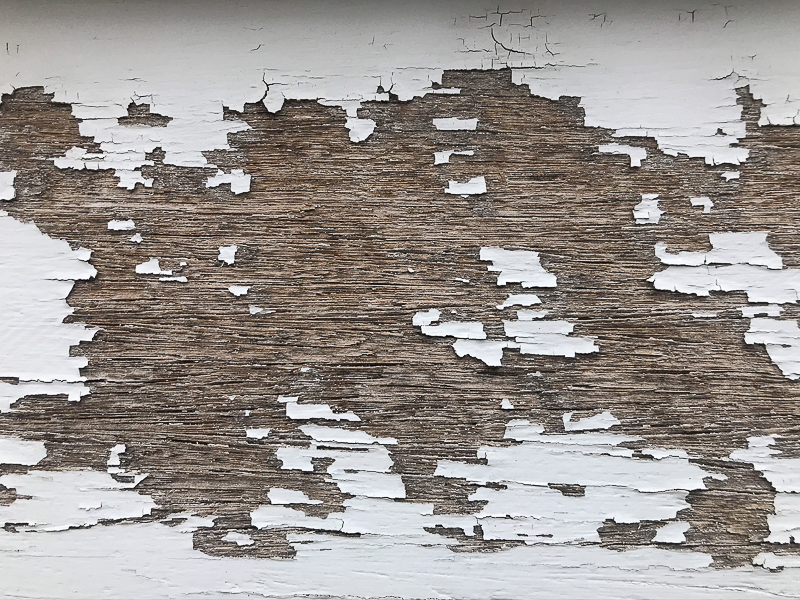
The following example is of a home where the minimum amount of preparation was appropriate for the clients requirements. The job brief was to prepare and paint the weatherboard cladding to the east and west sides of the home only. As you can see below, the paintwork was in desperate need of some attention!

Let’s follow a sample weatherboard through the process of preparation and then the application of the paint.
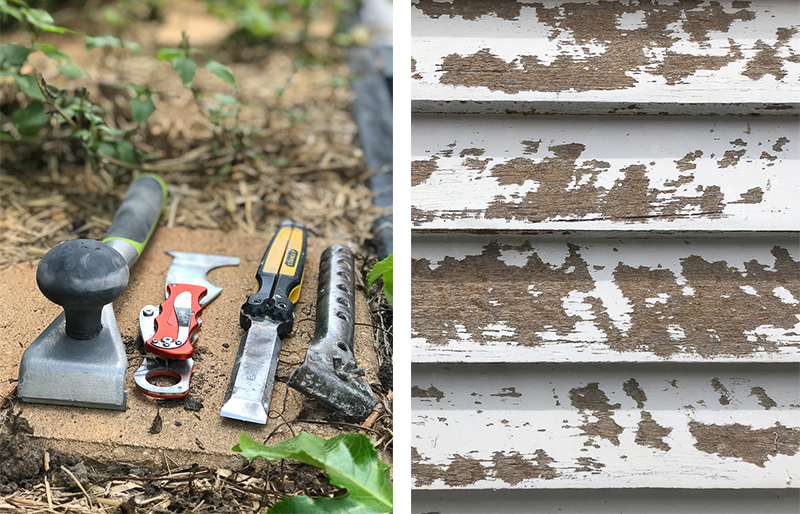
The first step is to scrape the loose paint off the weatherboard. The four hand tools pictured are the ones that I use the most frequently. The tools on the far left and far right both use tungsten blades to ‘shave’ the loose paint off and start the process of ‘feathering’ (smoothing) the transition between the bare timber and the sound/solid paint. The chisel and the 2edge Zorr knife are used to remove loose paint in the corners and underneath the weatherboards. This first step is very labour intensive but a thorough job makes the following steps much easier.
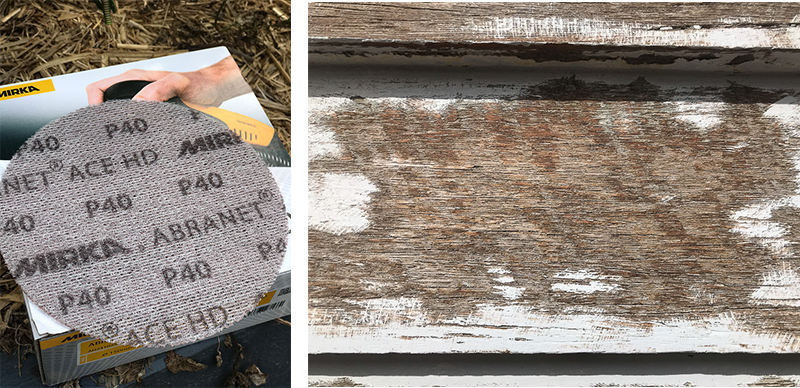
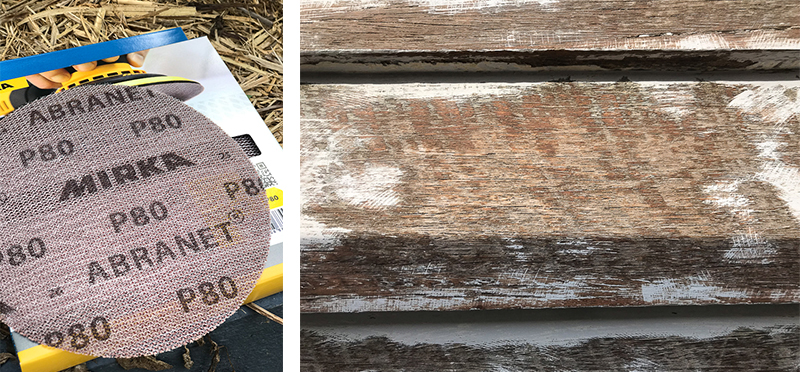
The second and third steps require sanding with a powerful orbital sander such as the Mirka Deros with the added safety of a vacuum to capture the paint dust that it removes. A course grade such as 40 grit acts to remove any remaining loose paint and to continue the process of feathering the existing paint, however it does leave swirl marks and the surface of the weatherboard feels quite rough to the touch. To remove the swirl marks and the roughness, a finer grade such as 80 grit is used to smooth the surface out.
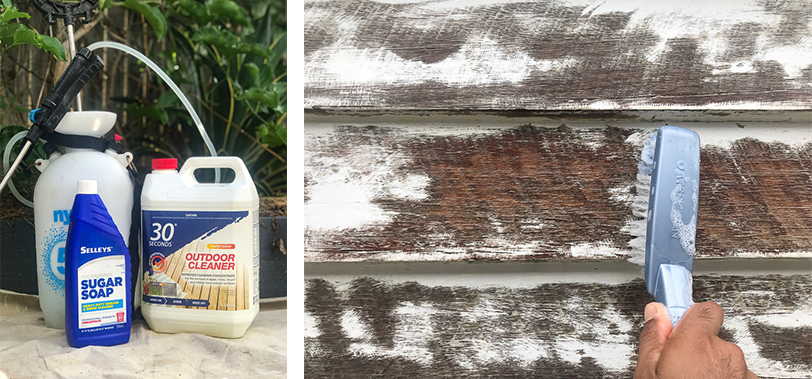
The fourth step is to wash it all down. A dilution of 30 Second Outdoor Cleaner is sprayed onto the boards after being wet down and then a bucket and brush are used to apply a Sugar Soap solution and to ensure that everything is clean. Finally, everything is washed down with clean water and allowed to dry. From a minimum preparation point of view all the loose paint is removed and the dust/dirt/grime has been removed – therefore this provides a solid foundation for a long lasting paint job.
Applying the undercoat in this case was the first step of painting. However, if you are wanting a more aesthetically pleasing finish, this would be just another step in the preparation as after the first undercoat, fillers of different types can be applied, sanded and then re-undercoated. A solid, full undercoat should be applied taking care to fill the timber grain on the bare patches.

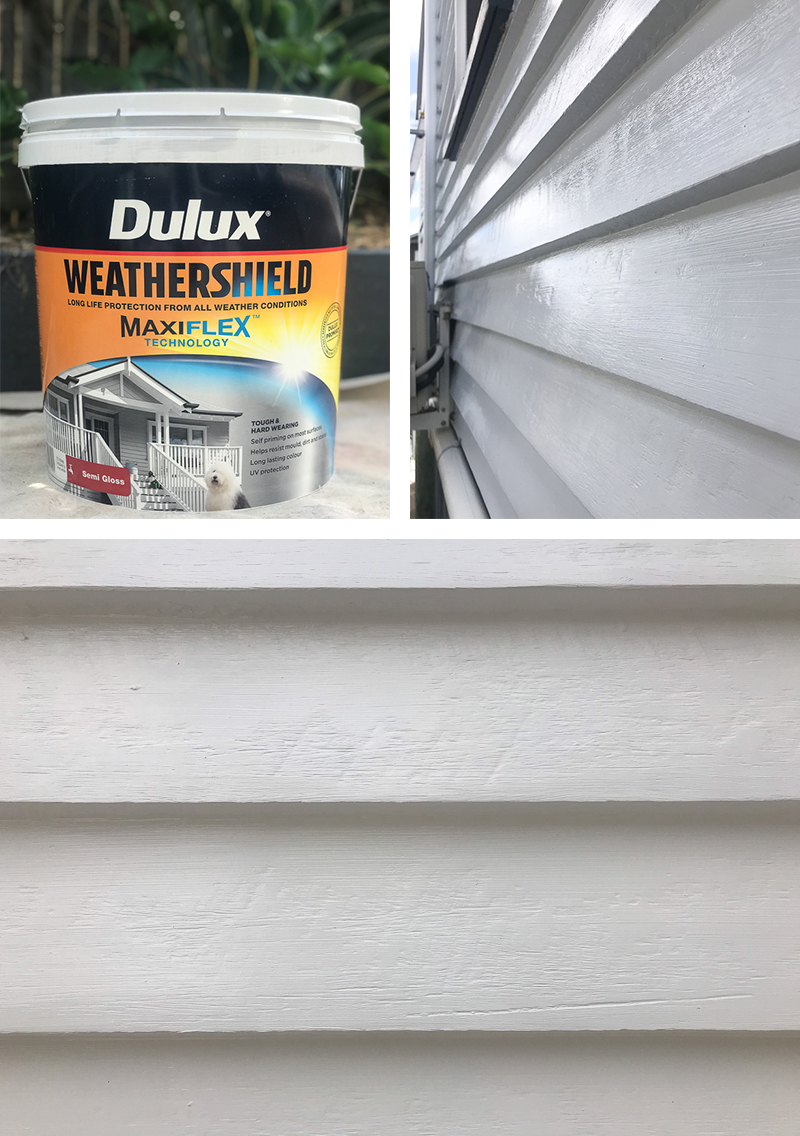
Finally, 2 full top-coats of a premium exterior paint such as Dulux Weathershield should be applied to protect the hard work that you have just done! This is the fun part, where you get to see the colours coming together and everything looks great. In the heat of a Brisbane summer, follow the shade to make sure that a nice even finish is achieved.
Whether the home you need painting is your primary residence or an investment/rental property, getting the exterior painted properly can significantly protect your property and keep it looking good. Proper preparation is the basis for a long-lasting paint job and should be a priority especially when costs are an important factor.

